
Things to drool over. My brewery upgrade project is mostly finished. I found a motor on CraigsList.com for $15.00 and I found a local Grainger distributor in Boulder so everything fell into place just as my MaltMill arrived in the mail (see previous post for the pro’s and con’s of different MaltMills I looked at.)
Here’s a quick shopping list for this project:
| Dayton 1/2 HP motor, 1725 RPM, 115/230V, 1/3 phase, 5/8″ shaft. New in box. | CraigsList.com | $15.00 |
| Fixed bore sheave, spoked, single groove, bore 1/2″, outside diameter 12″, 3L belt pitch diameter 11.55″, 4L belt pitch diameter 11.85″, keyway, die cast (Zamak #3) | Grainger item 3X938 | $27.15 |
| Fixed bore sheave, solid, single groove, bore diameter 5/8″, outside diameter 2″, 3L belt pitch diameter 1.55″, 4L belt pitch diameter 1.85″, keyway, die cast (Zamak #3) | Grainger item 3X896 | $4.18 |
| Bushing, Reducer, Pk3 (1/2″ to 3/8″) | Grainger item 4X664 | $4.93 |
| V belt, 4L, 1/2 x 45″ | Grainger item 4L450 | $6.09 |
| 2 x 5 Gallon Buckets | Home Depot | $12.94 |
| Switch Box | Home Depot | $1.85 |
| 120v 20A light switch | Home Depot | $4.18 |
| Wall Plate | Home Depot | $2.99 |
| 25′ 12 gauge extension cord | Home Depot | $26.72 |
| 48″x15″x1/4″ white board | Home Depot | $6.75 |
| 5 gallon bottled water (used for hopper) | Home Depot | $11.99 |
| 2″ male/female PVC connectors, various nuts, bolts, washers | Home Depot | $10.00 |
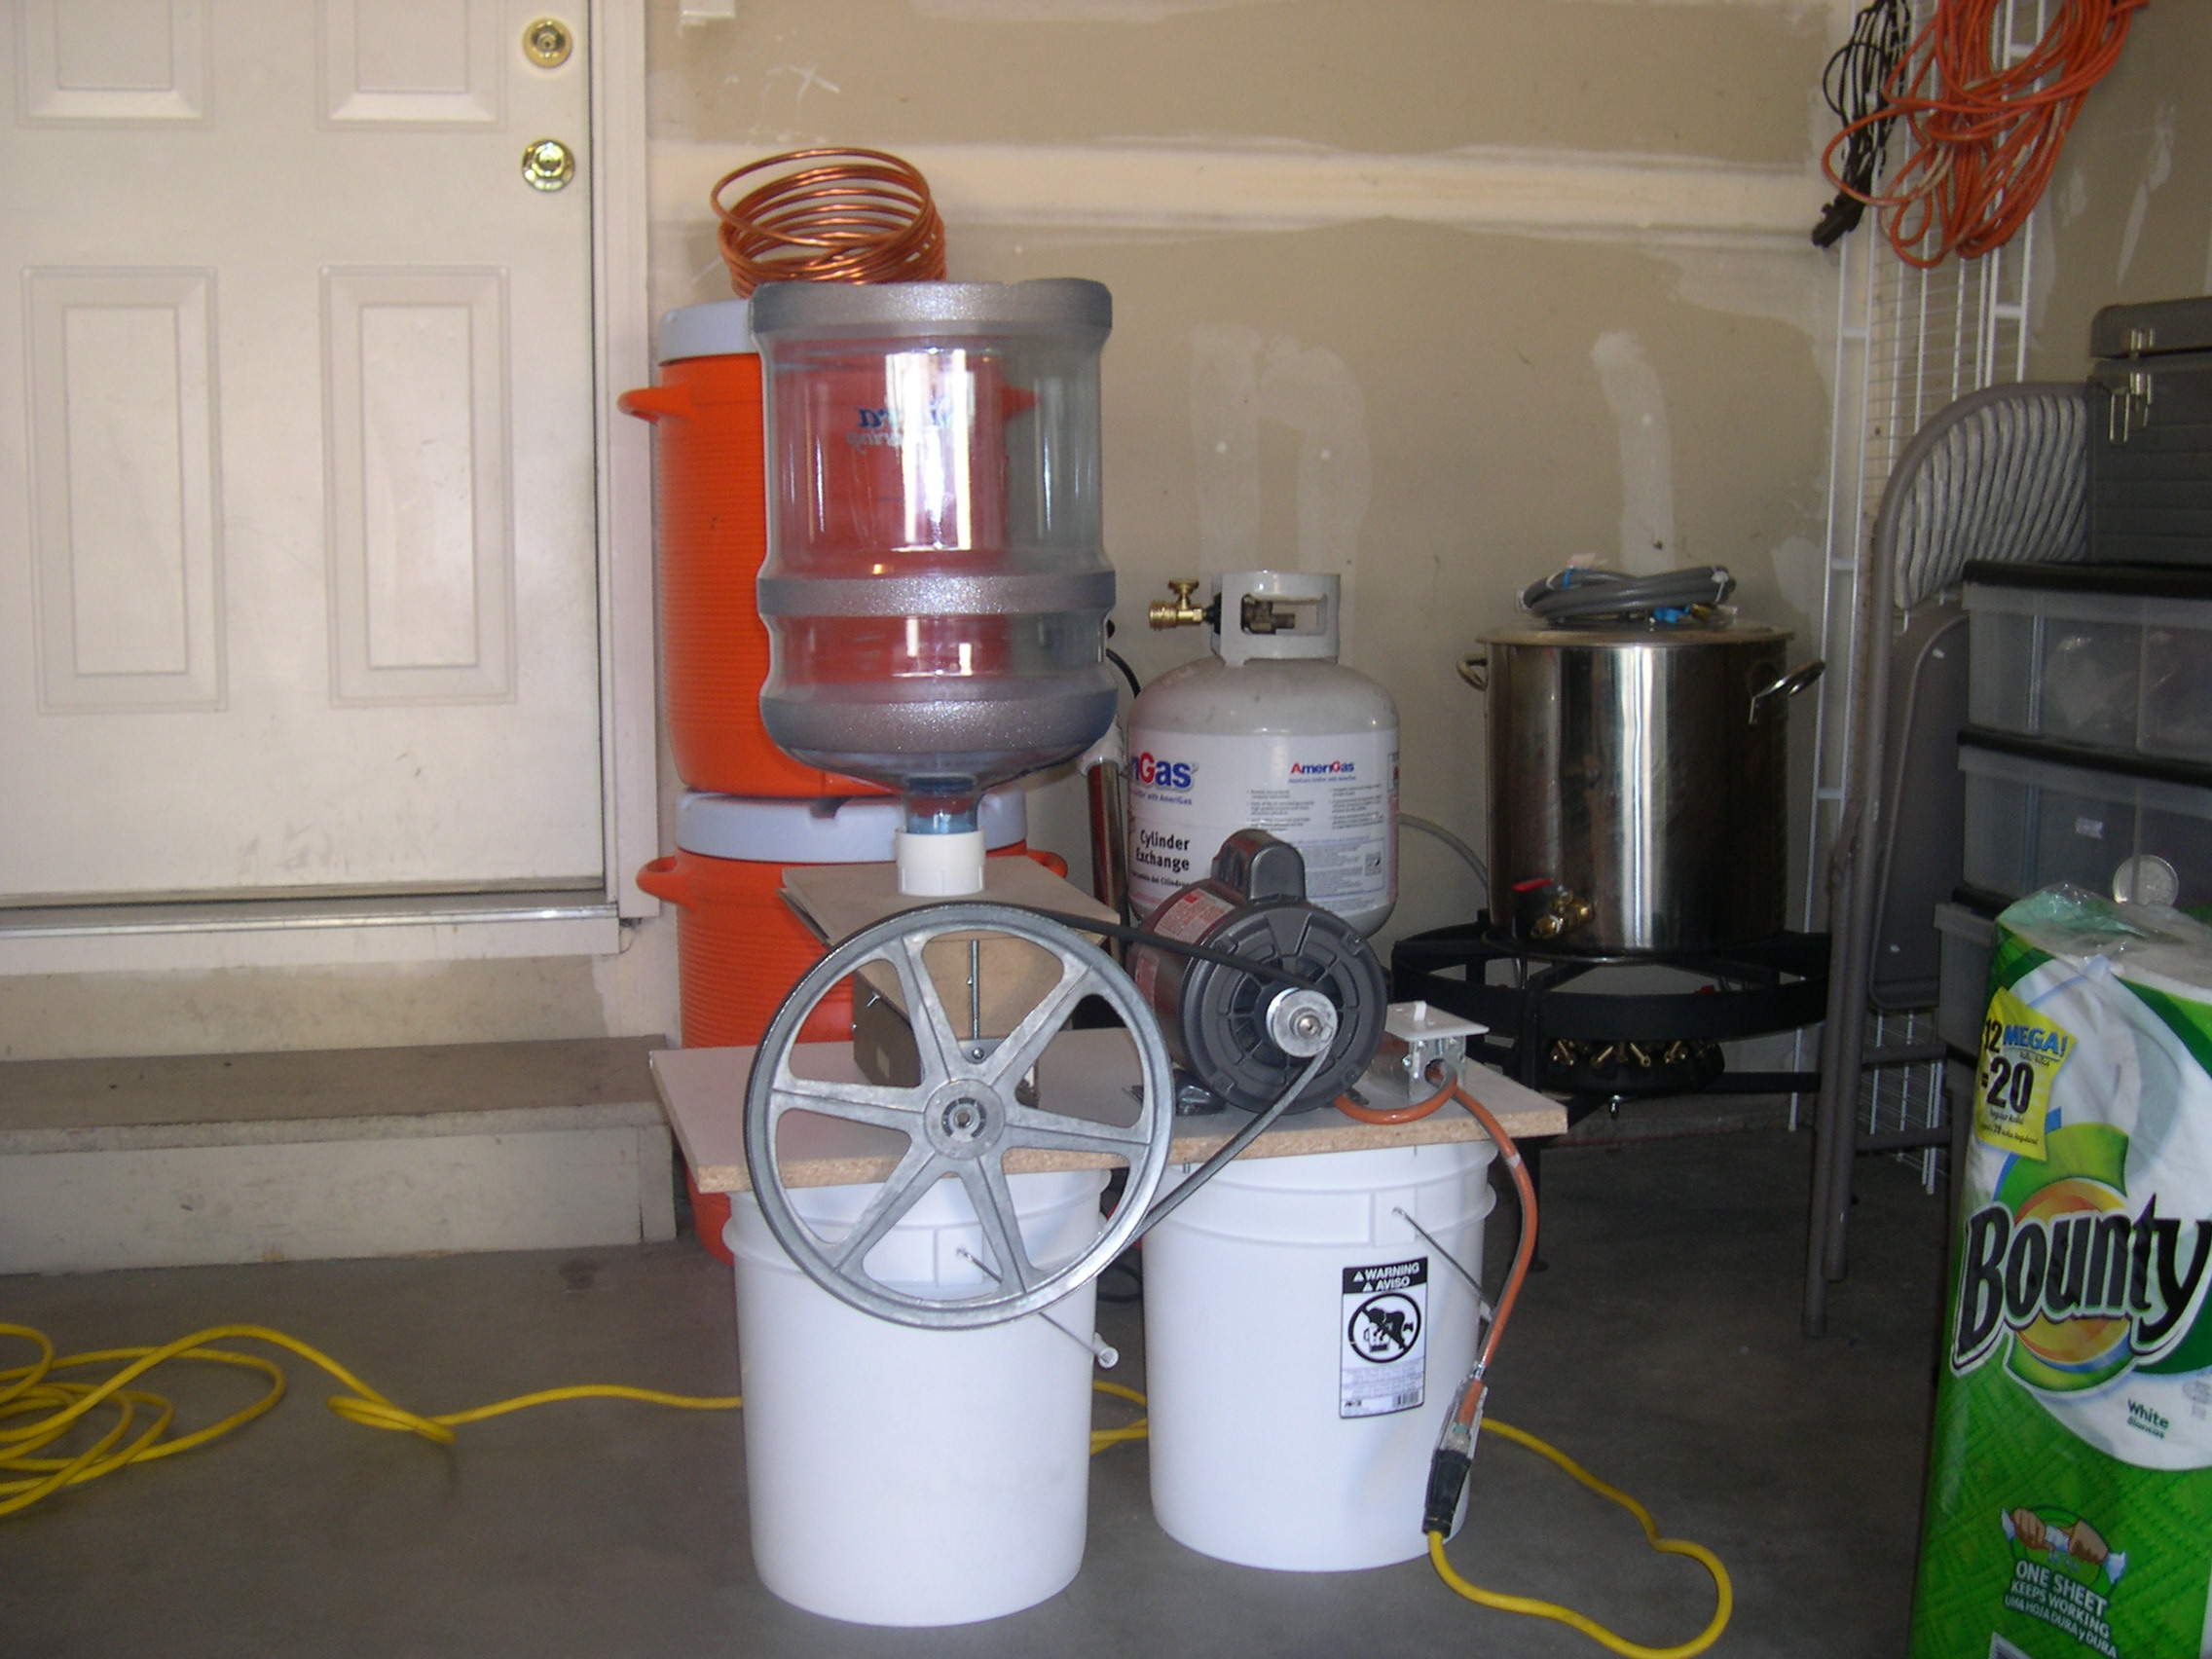
This photo shows the final setup. The adjustable JSP MaltMill mounted on the left with a 12″ Sheave, the 1/2 hp motor on the right with a 2″ Sheave. The large hopper adapter is bolted to the mill with the 2″ PVC male/female connecters screwed together sandwiching the board. The upside down 5 gallon water bottle with the bottom sawed off forms the hopper. I had to cut the lip off the bottle and cut it vertically to get it to fit. Next time I’ll find some PVC connectors so the bottle will slide in without being cut down. The light switch is on the far right. I used a 20 amp switch to handle the larger load. I also used 12 gauge wire. The light switch has a male plug and a female plug connected to it. You plug it into an extension cord on one end and plug in the motor on the other end. I also made the motor unpluggable so it could be taken off or swapped out without having to rewire the recepticle.
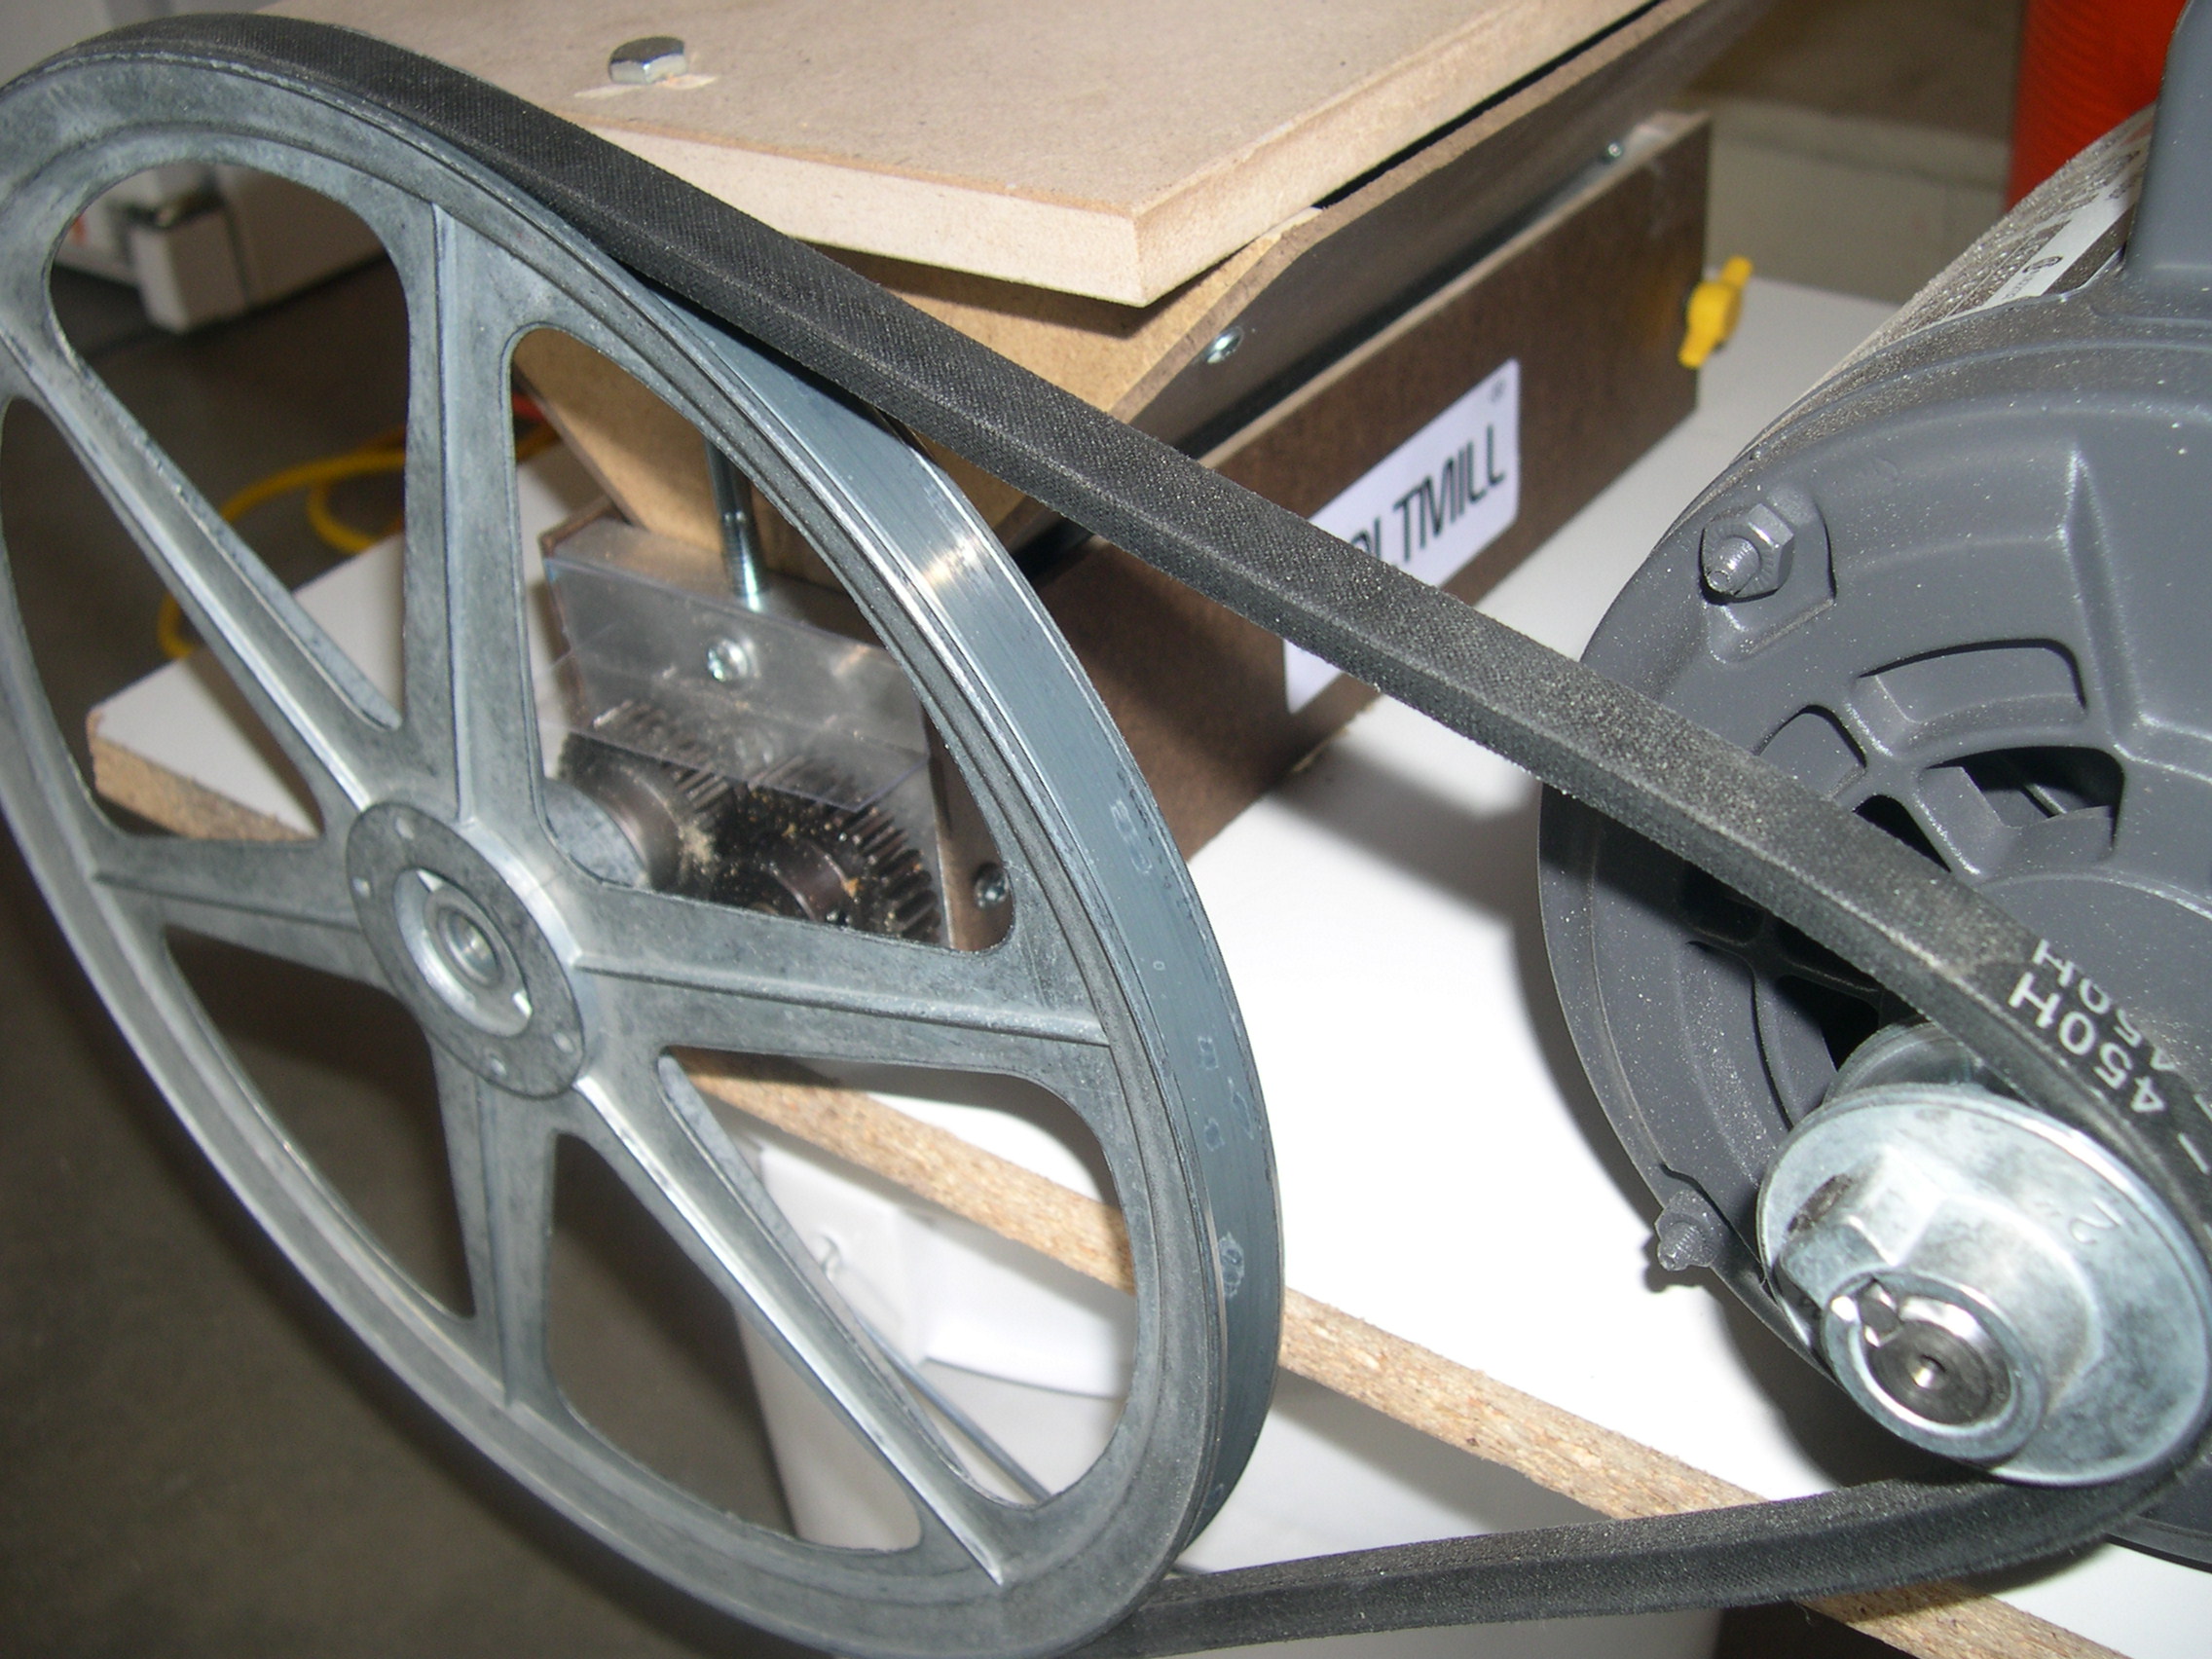
This picture shows the Gear Driven Option pretty well. Both rollers are case hardned. The gears have different numbers of teeth, so they rotate at different speeds. The belt reduction should cause them to rotate at 1.85″/11.85″ * 1725 RPM = 269 RPM. Which was my goal – not to fling the grain through the mill, but actually give it a good crush.
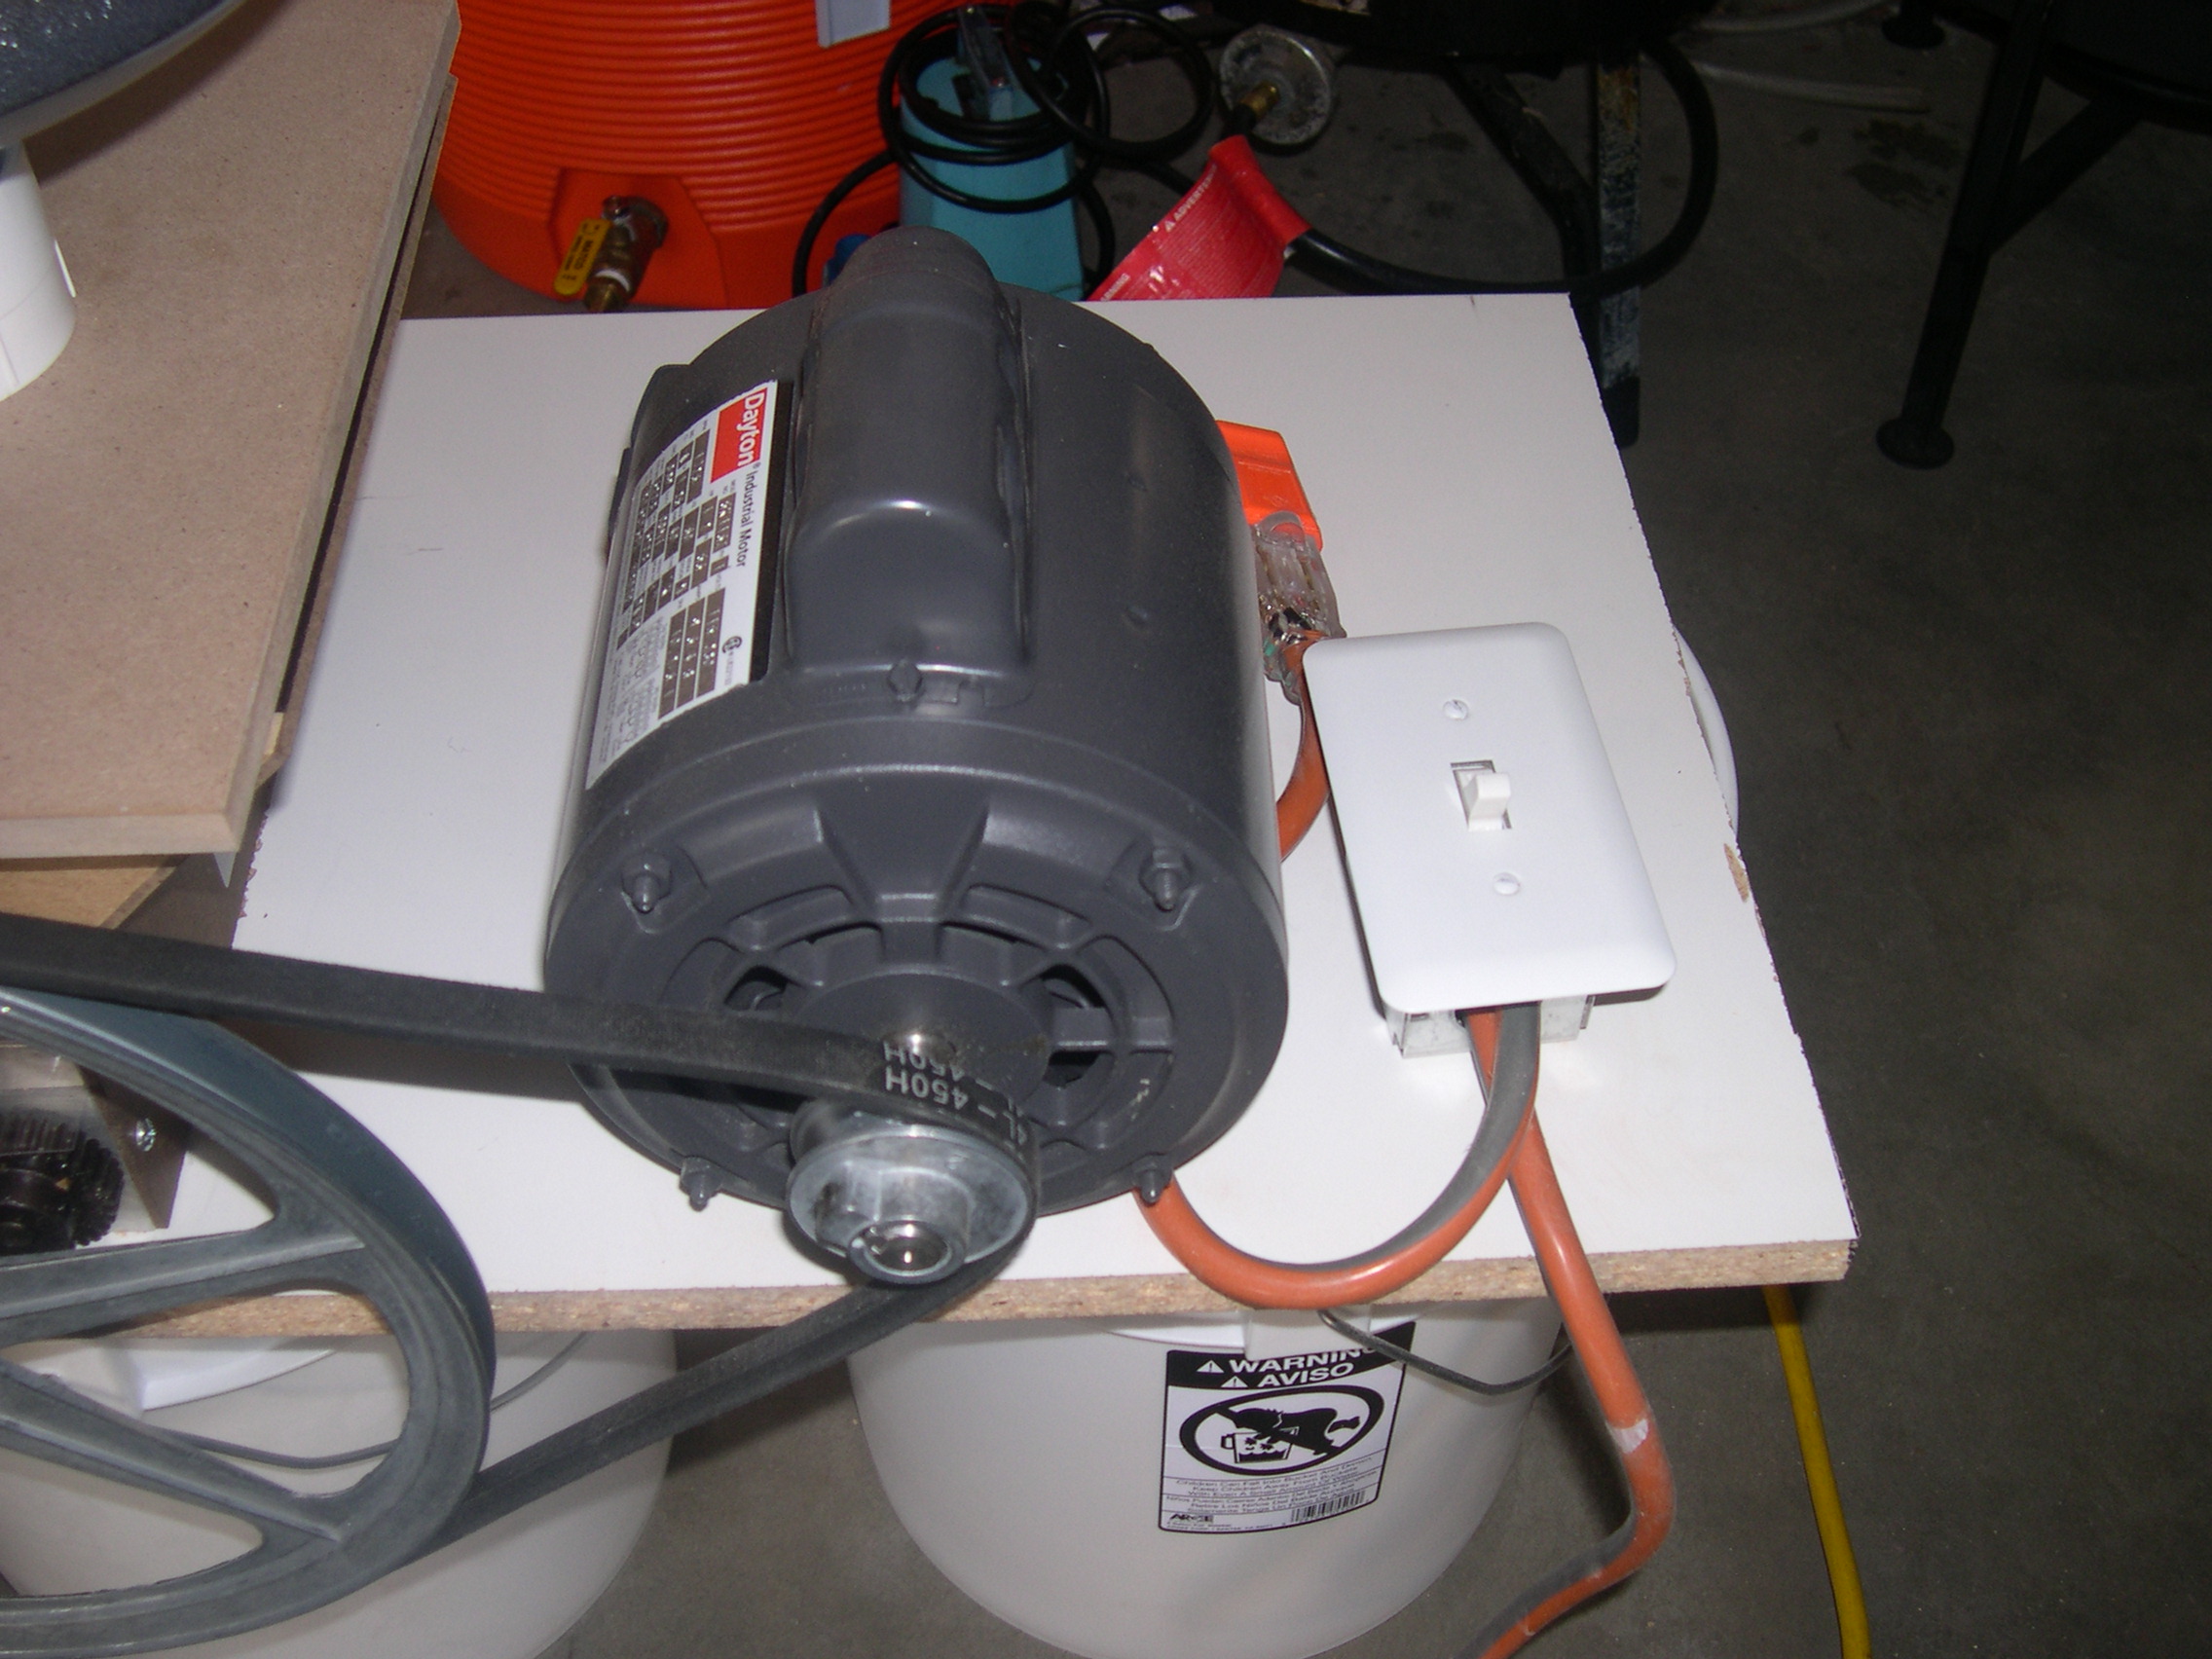
This is a picture of the light switch, plugs and motor.
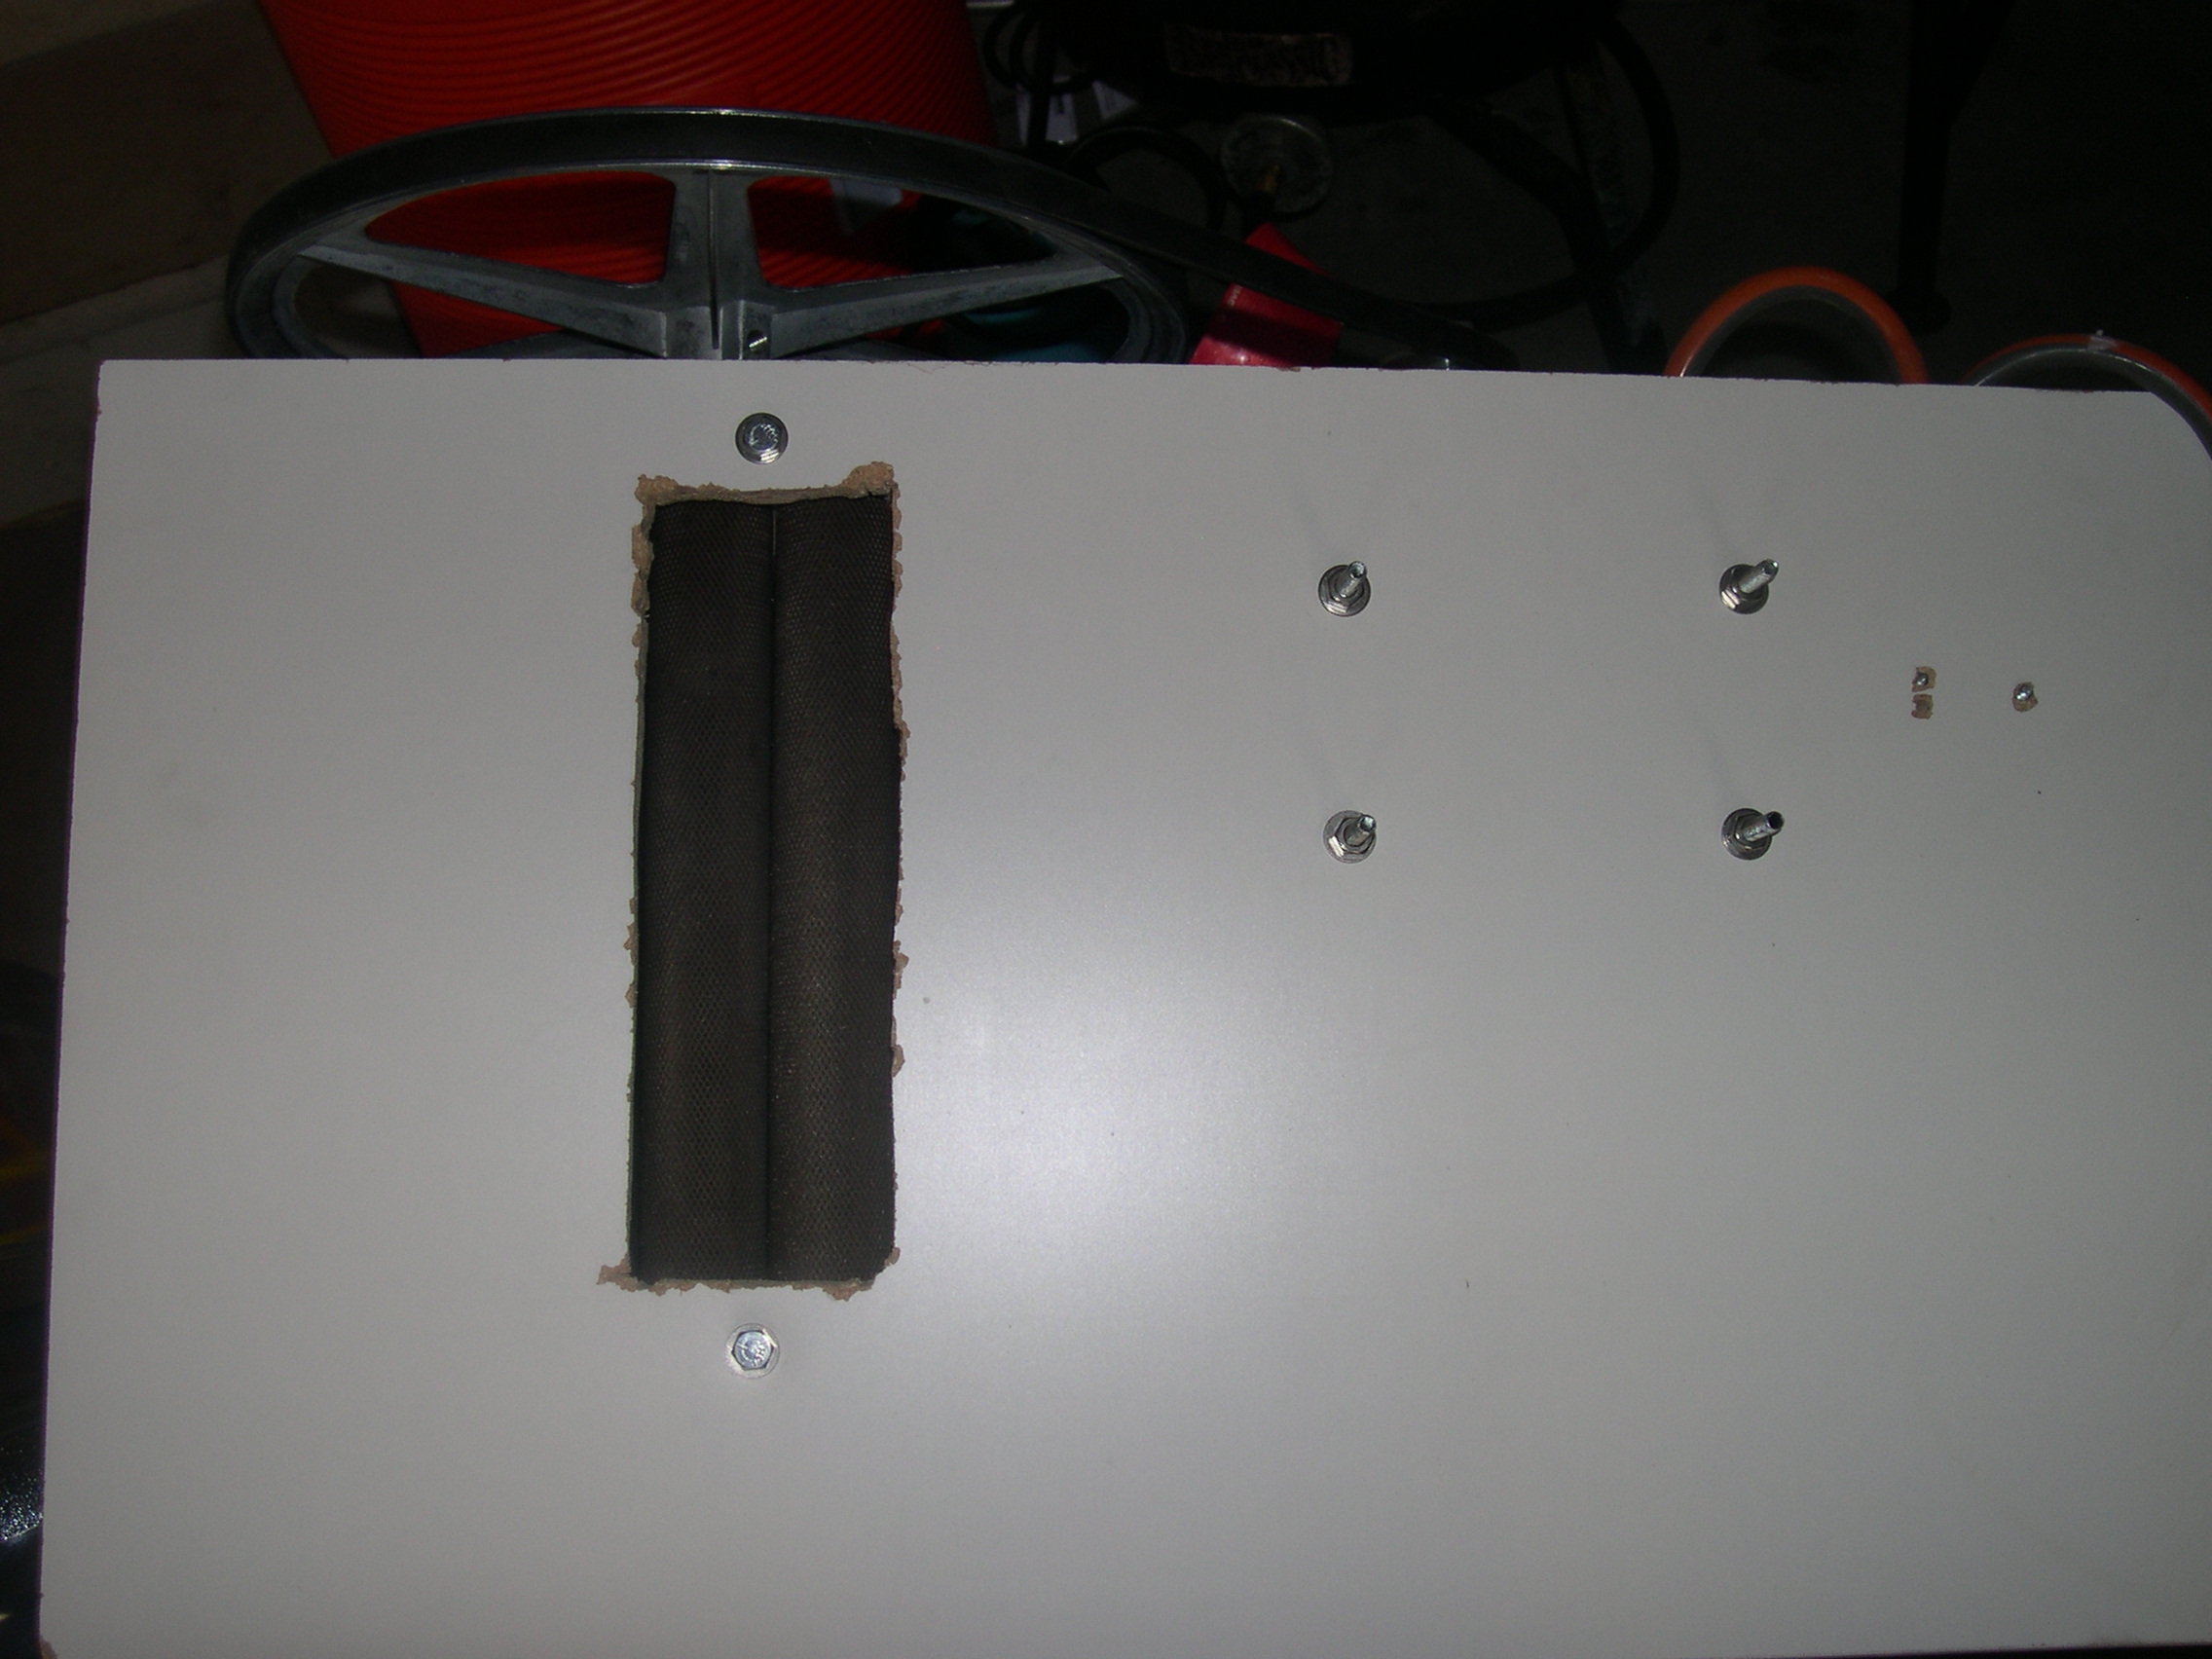
This is the bottom of the board. Note the suck ass cutting. I’m not too good with a rip saw. C’est la vie. Good view of the rollers from the bottom.
All thats left is to cover the belt and sheaves so I don’t cut my fingers off!

3 comments
Comments feed for this article
March 31, 2008 at 2:33 pm
Phil
Well done, Rick! This looks fantastic. You’re very ingenuitive, and this whole thing looks extremely well thought out. I’ve always used the corona-style mills, not having the wherewithal to build something this fancy.
July 3, 2011 at 1:44 am
tim ryan
Exactly how is the motor attached to the surface? Did it come with one side flat, or an attached mounting plate?
July 3, 2011 at 6:33 am
rhagerbaumer
Yes – there is a flat base with bolt holes in it. Just a matter of bolting it onto the piece of wood.